Shower Surround Installation Services Overview
Visitors will learn about local contractors who specialize in shower surround installation services and how to compare their options.
- - Shower surround installation services for homeowners updating bathrooms or remodeling spaces.
- - Local contractors experienced in installing various shower surround materials and styles.
- - Connect with trusted service providers to compare options and find the right installer for your project.
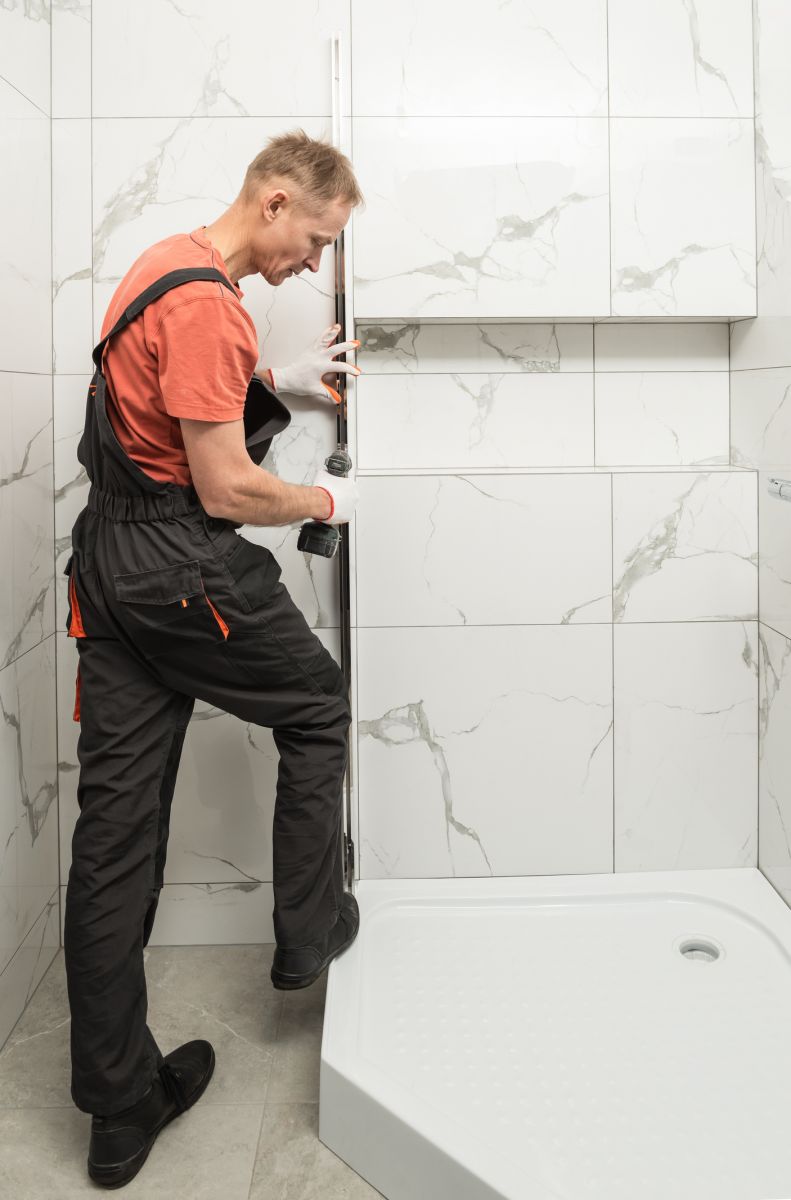
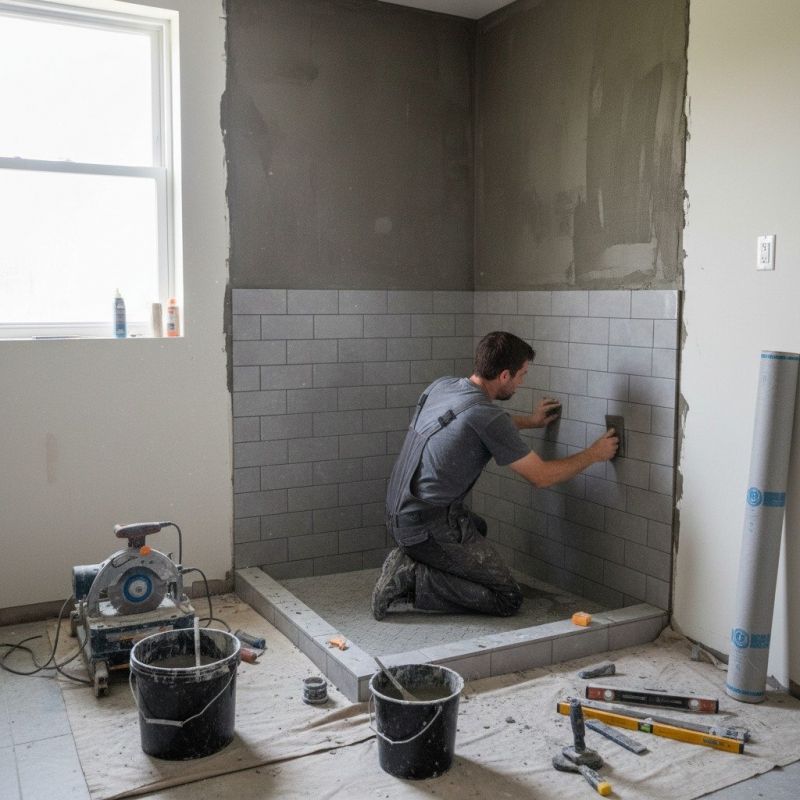
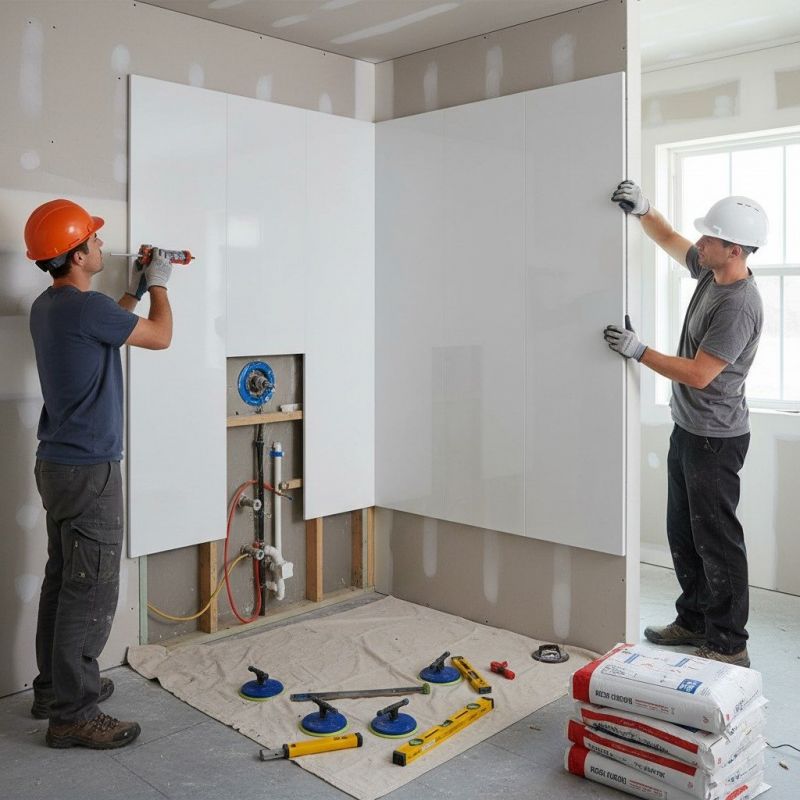
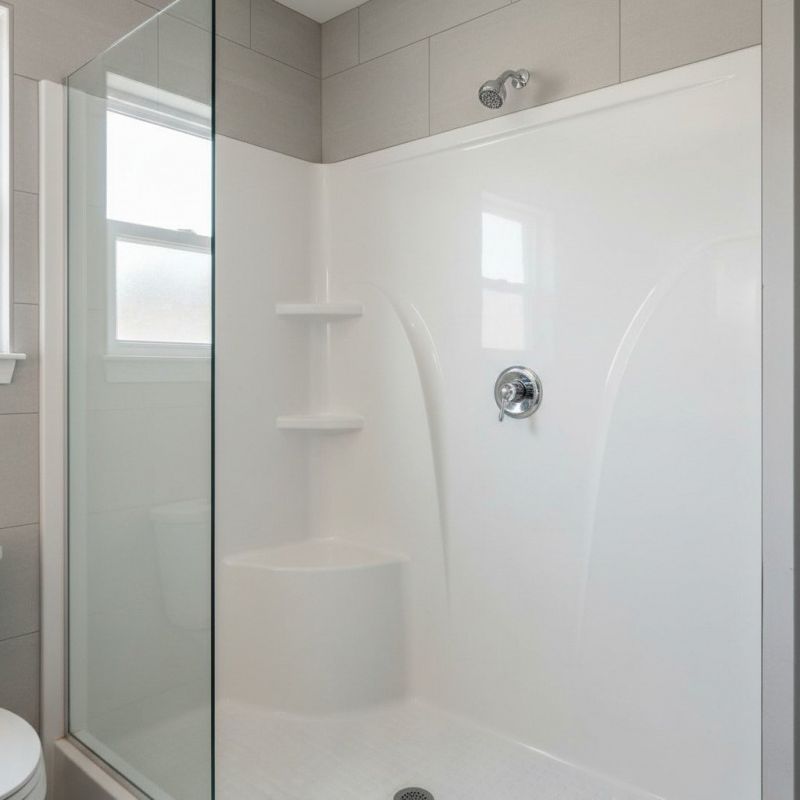
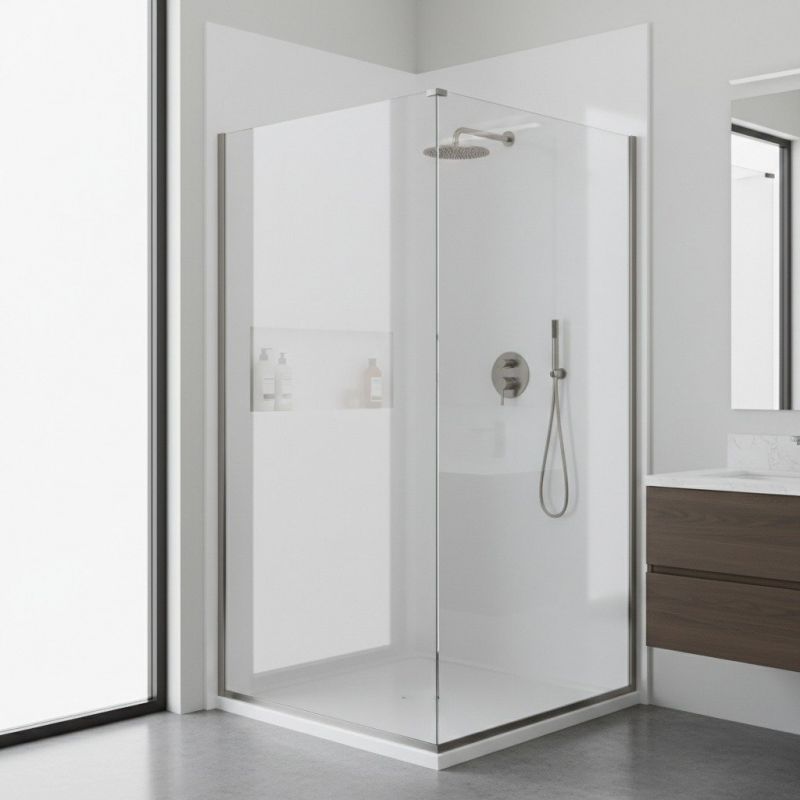
Shower surround installation is a common home improvement project that involves replacing or upgrading the panels that enclose a shower area. Property owners often seek the assistance of local contractors who specialize in bathroom remodeling and shower upgrades to ensure the job is performed efficiently and to a high standard. These service providers typically handle tasks such as removing old surrounds, preparing the surface, and installing new panels made from materials like acrylic, fiberglass, or tile, helping to refresh and waterproof the shower space.
Local contractors who offer shower surround installation services are experienced in managing a variety of situations, from minor updates to complete bathroom overhauls. They work directly with property owners to understand their needs and recommend suitable materials and designs. When reaching out to these professionals, property owners can expect clear communication about the scope of work, as well as skilled craftsmanship aimed at creating a durable, attractive shower enclosure that complements the overall bathroom aesthetic.
This guide provides helpful information to understand the key aspects of shower surround installation projects. It assists in comparing local contractors and preparing to share the basics of a job with potential service providers. The goal is to help visitors make informed decisions when connecting with local shower surround specialists.